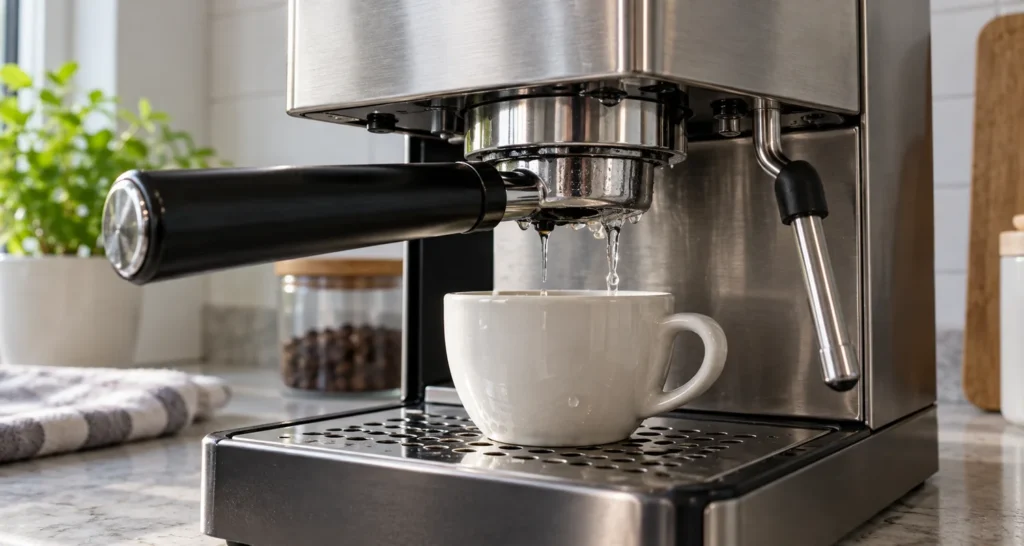
Quick answer: If water escapes around the Gaggia Classic Pro portafilter while a shot is brewing, stop the brew and let the group cool. Check that the portafilter was locked in correctly, brush loose grounds from the basket rim, and inspect the accessible group gasket for coffee residue. Gaggia’s troubleshooting table lists these three checks for excessive water loss at the filter holder. If a clean, correctly seated portafilter still leaks from the same joint, the gasket may be worn and should be assessed for replacement.
Scope: Classic Pro / RI9380 in the linked USA manual. Classic Evo, E24 and older Classic generations can have different parts; confirm the full model and serial details before ordering a seal. Reviewed October 10, 2026.
Make sure the water is coming from the seal
Watch from a safe distance during a short brew. A trickle from the circular joint above the portafilter basket points to the portafilter-to-group seal. Water from the filter-holder spouts should land in the cup. After the brew stops, some water may drain through the machine’s drain pipe to the drip tray, which Gaggia describes in the manual. Water coming from the housing or steam wand is a different symptom.
| Where water starts | Next check |
|---|---|
| At one edge of the portafilter-to-group joint during brewing | Lock position, basket rim and group gasket. |
| From the spouts into the cup | Normal coffee path; identify whether the cup or tray overflowed. |
| Into drip tray after brew stops | May be normal drain-pipe discharge on this machine. |
| Under the housing or by the power cord | Stop use and seek service; do not treat it as a gasket diagnosis. |
Three checks before buying a gasket
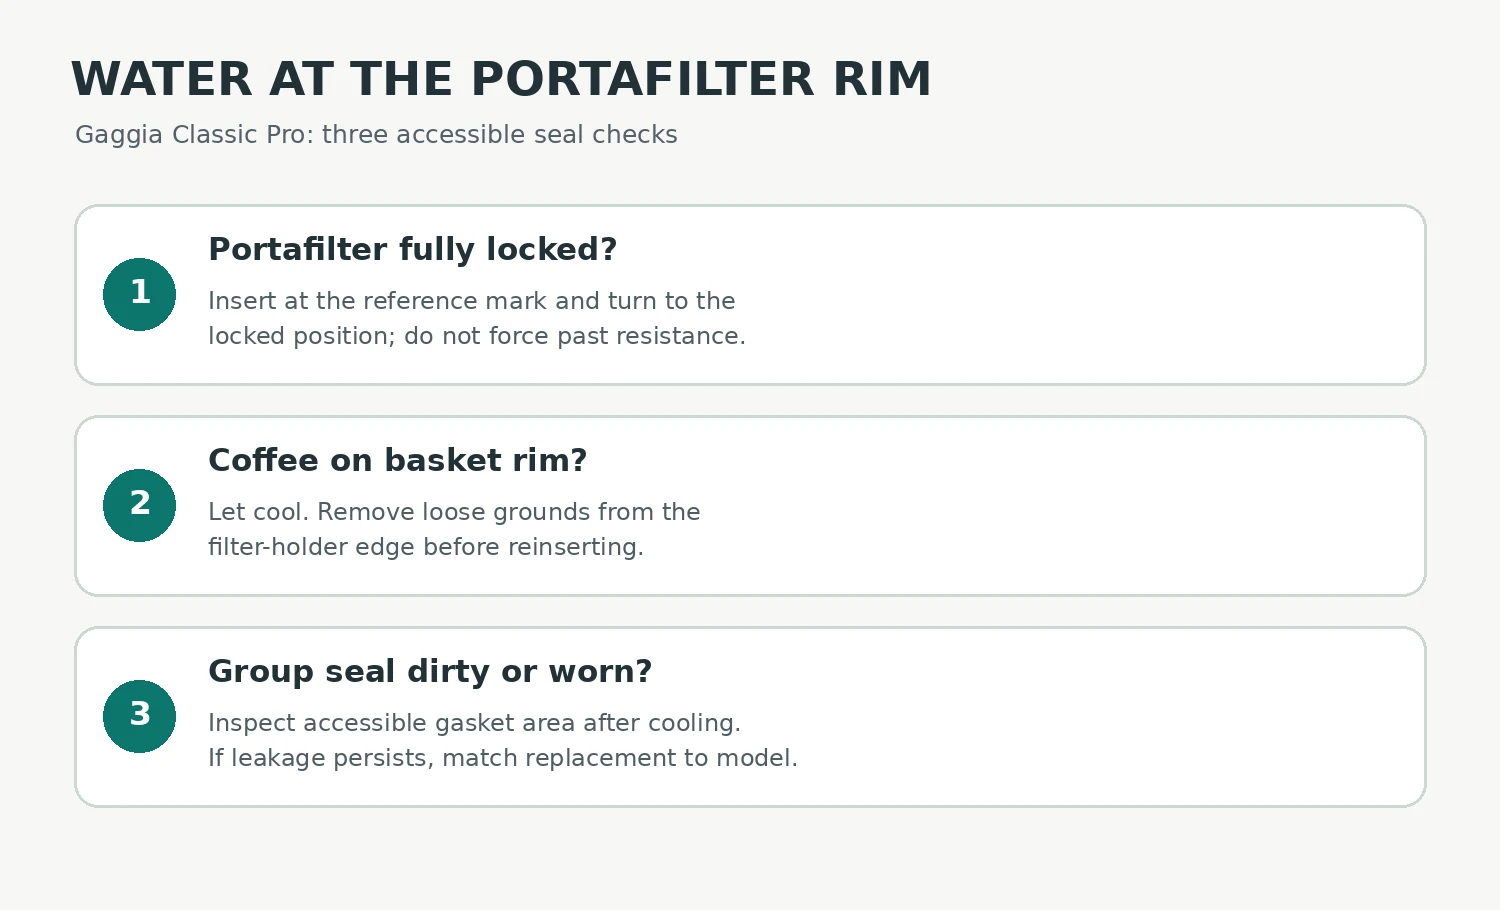
- Check engagement. Once cool, remove the portafilter and insert it from below with its handle at the reference mark shown in the Classic Pro manual. Rotate left to right until it reaches the locked position and normal resistance. Do not force it farther to mask a leak. An incompletely engaged holder cannot seal consistently.
- Clean the basket rim. Knock out the puck after cooling. Wipe the edge of the metal filter holder and basket; a line of coffee grounds between the rim and rubber seal can create a leak path. Gaggia explicitly says to remove coffee residue from that edge before brewing.
- Inspect the accessible seal. With the machine off, unplugged and cool, look at the circular rubber gasket in the group. Remove visible coffee residue gently with a suitable soft brush or damp cloth without gouging the rubber. A cracked, flattened or persistently leaking gasket needs compatibility confirmation and replacement. Do not use a sharp tool on a gasket you intend to keep.
Reassemble and run a brief controlled test with a cup in place, keeping hands clear. If water is still escaping from the same joint after the holder is correctly seated and the rim and seal are clean, stop repeated tests. A worn seal becomes more plausible, but the symptom alone does not prove it is the only cause.
When replacement makes sense
Gaggia North America describes the group gasket as the seal that prevents brewing leaks and lists a Gaggia group gasket compatible with Classic Pro. Check the exact machine version and part fit before purchasing. Gaggia also publishes a group gasket replacement procedure, which requires removal of the shower screen and holding plate. If you are not equipped to work on a cooled, unplugged machine or the fasteners resist, arrange service instead of damaging the group.
Tools, time and related guides
The initial checks need only a clean cloth or soft brush, a cup and several minutes for the machine to cool. A gasket replacement requires the model-specific instructions and tools listed by Gaggia; it is not the first step for a single spill. If the machine has no water from the group head rather than a leaking joint, follow the flow diagnosis. The Classic Pro troubleshooting hub covers other symptoms.
FAQ
Does water in the drip tray mean the portafilter gasket leaks?
No. Gaggia says excess water exits a drain pipe after dispensing. Identify the first wet point during brewing before treating the gasket as faulty.
Should I turn the handle harder during the shot?
No. Stop the brew and let the machine cool. Reinsert the portafilter to the manual’s locked position; do not attempt to correct a pressure leak by twisting it while hot.
Can coffee grounds on the basket rim cause a leak?
Yes. The Classic Pro manual specifically asks owners to check that no coffee residue remains on the filter-holder edge when water escapes from the holder.
Sources
- Gaggia Classic Pro USA instruction manual (PDF) — filter-holder insertion, drain pipe and leak troubleshooting.
- Gaggia North America semi-automatic maintenance — group gasket function and replacement procedure.
- Gaggia North America group gasket — stated Classic Pro compatibility.