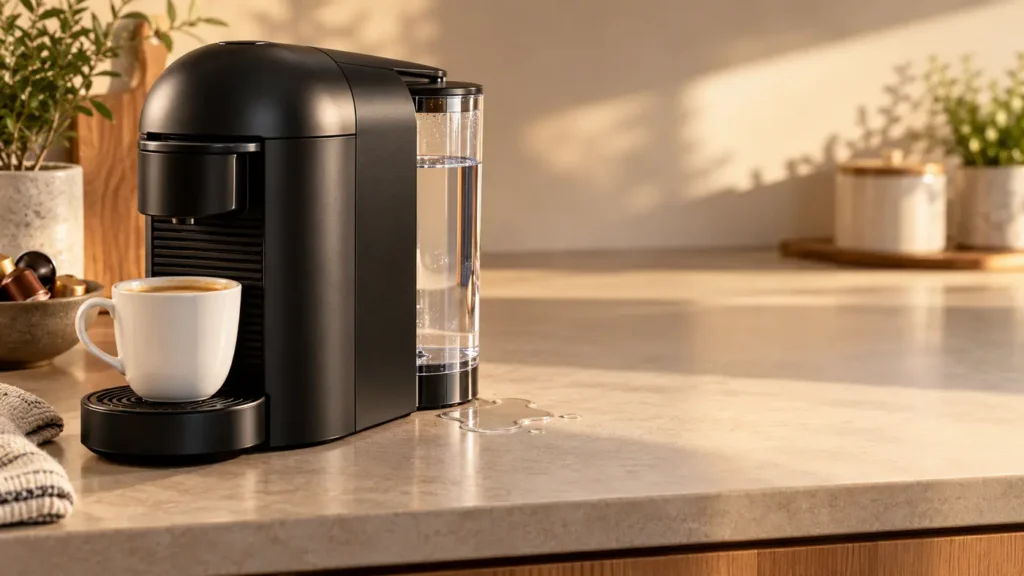
Quick answer: If your Nespresso Vertuo Next is leaking water, dry the counter and find where the water first appears. A puddle by the tank while the machine is idle calls for a tank test. Water collecting in the used-capsule container calls for a capsule and container check. Water emerging from beneath the machine during a brew needs service if the removable parts are dry and properly seated.
Last verified: September 25, 2026. This guide is for the Vertuo Next. Nespresso’s Vertuo Next user manual lists an incorrectly positioned water tank as the first check for a leak or unusual coffee flow. The location of the water determines what to do next.
Find where the water starts
Wipe the counter, outside of the tank, drip tray and capsule container dry. If the machine is safe to use, observe it without moving it or touching wet areas. Note whether the water appears while it is sitting idle or only when it runs. A puddle can spread away from its source, so check the first damp spot rather than the largest one.
| First wet spot | When it appears | Start here |
|---|---|---|
| At the base of the water tank | Even with the machine off | Remove and isolate the filled tank for 30 minutes |
| In or below the used-capsule container | After making coffee | Empty and clean the container; check the next capsule |
| Under the cup support or drip tray | After a cup or cleaning cycle | Check for a full or poorly seated tray and a cup that overflowed |
| From beneath the main housing | During operation | Stop using it; arrange Nespresso service |
If you cannot tell whether a puddle came from the tank or the machine, test the removable tank first while the machine stays unplugged.
1. Test the water tank on its own
Remove the tank carefully and inspect its bottom, especially around the outlet. Look for cracks, a loose or damaged outlet area, and water tracking down its outside. Rinse away residue and dry its exterior. Do not pry open or remove the spring valve.
- Leave some water in the tank and dry its outside completely.
- Set it upright on a towel on a surface that can tolerate water. Keep it away from the machine and electrical items.
- Wait 30 minutes, then check the towel and the tank base.
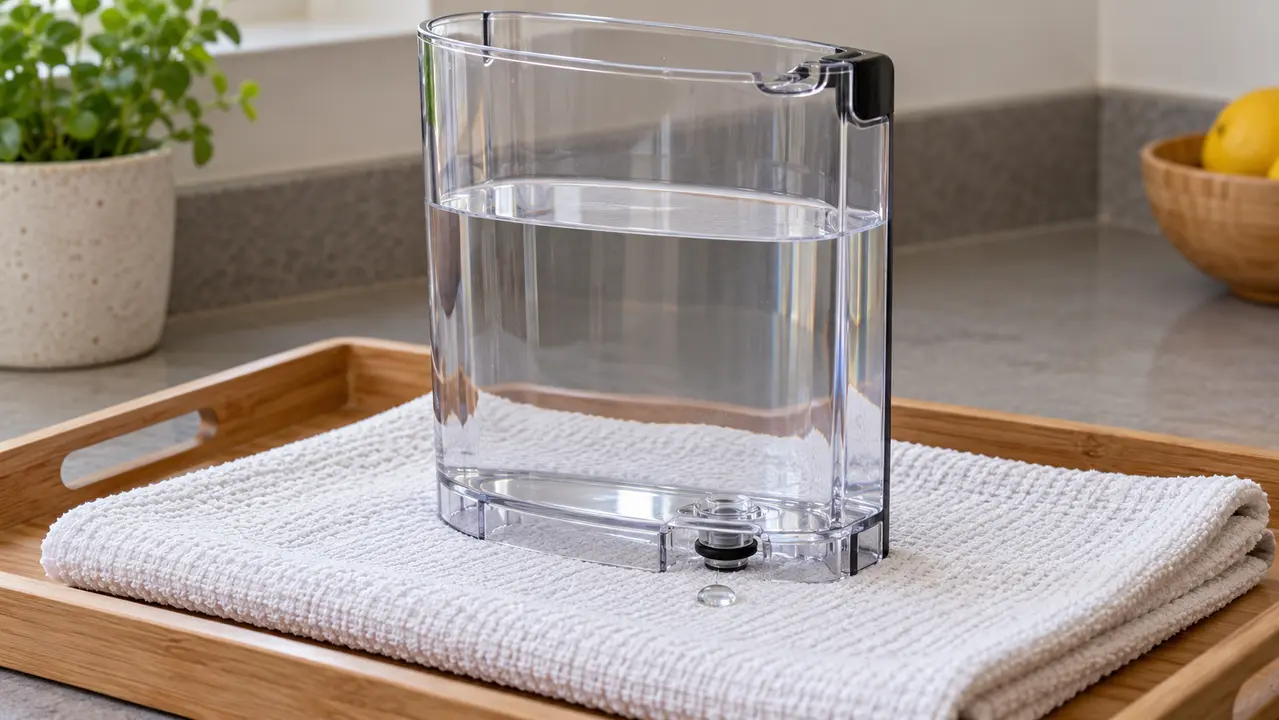
This is the isolation check in Nespresso’s leak guidance. If the tank leaks while detached, ask Nespresso for the correct replacement tank for your machine. If it stays dry, do not assume the tank is defective: water may be escaping where it meets the machine or from another part during use.
2. Reseat the dry tank
With the machine unplugged, wipe visible moisture from the accessible tank seat and dry the outside of the reservoir. Refit the tank straight and make sure it sits fully in its normal position. Do not force it or insert tools into the inlet. Nespresso specifically recommends checking that the tank is well positioned when there is leakage or unusual coffee flow.
If water reappears at the connection only after fitting the tank, stop and contact Nespresso. A damaged connection or seal needs inspection; adding glue, tape or sealant is not a reliable repair for a drinking-water path.
3. Check water in the used-capsule container
Open the head only after brewing has stopped. Eject the used capsule, then remove, empty and rinse the capsule container and drip tray. Dry them before reinstalling. A few residual drops can follow an ejected capsule, but a container that repeatedly fills with water or watery coffee during a brew needs attention.
Check that an old capsule did not remain in the head. For the next brew, use a fresh, undamaged Vertuo capsule in the correct position. Close the head and turn the handle all the way to the locked position without forcing it. A crushed rim or improperly seated capsule can interfere with the brewing process. Nespresso’s capsule-container guidance calls for cleaning the container and checking capsule insertion; contact support if the problem continues.

If the next capsule is also wet on the outside and the container rapidly fills, stop repeating brews. There may be a fault at the brewing head that an accessible cleaning step cannot resolve.
4. Rule out a tray or cup overflow
Empty the drip tray and fit it back securely. Set an appropriately sized cup directly beneath the outlet. The Vertuo Next can brew different drink sizes, so an espresso cup under a mug-size capsule can make an ordinary overflow look like a machine leak. Check the cup support and counter immediately after brewing to confirm where the water starts.
If the tray is dry but water comes from below the housing, do not run another brew or a descale cycle to “flush” it. Keep the unit unplugged and arrange service.
Should you run a cleaning cycle?
A cleaning cycle can help remove coffee residue in an otherwise normally operating machine. It is not a leak test for a machine that is actively dripping from the housing, tank connection or electrical area. Use it only after the tank, tray and capsule container are fitted correctly, and you have no sign of an active external leak.
For the official Vertuo Next cleaning procedure, fill and attach the tank, eject the capsule, empty and reinstall the container and tray, and place a container of at least 1 liter under the coffee outlet. Close and lock the head; with no capsule inside, press the button three times within two seconds. Nespresso says flow can take up to two minutes to begin and the cycle can take up to seven minutes. Never open the head while it runs. If water appears beneath the housing, stop using the machine and contact support.
For reduced flow without a leak, see our Vertuo Next no-water guide. Follow our Vertuo Next descaling instructions only when descaling is due and the machine is not leaking externally. If the button shows an unusual pattern, see the blinking-orange guide.
When to stop and contact Nespresso
- The detached water tank leaks after 30 minutes: request the model-compatible replacement.
- The tank stays dry on its own, but water returns at its connection after it is reseated.
- Water comes from under the machine during operation, especially near the power cord.
- The capsule container repeatedly fills despite cleaning and using a fresh, correctly seated capsule.
- There is a burning smell, an electrical fault or a damaged cable.
Before calling, note the model code on the machine, where the first wet spot appears, whether it leaks while idle, and whether the tank leaked when isolated. A photo of the dry setup and the first new wet spot can make the fault easier to explain.
Frequently asked questions
Why does my Vertuo Next leak when it is turned off?
Start with the detached-tank test. If water collects on the towel after 30 minutes, the tank itself leaks. If the tank stays dry, check its seating and contact Nespresso if water appears at the connection even without brewing.
Is water in the capsule container normal?
A few residual drops after ejection are different from repeated pooling. Empty and clean the container, then check a fresh capsule and the lock. Persistent pooling is a reason to contact Nespresso.
Can descaling fix water leaking underneath?
Do not descale a machine that is actively leaking from the housing. Descaling addresses mineral buildup in the water path, but it does not establish where escaping water is coming from. Isolate the tank and tray first, then arrange service if the housing still leaks.
Sources: Nespresso Vertuo Next user manual; Nespresso tank-leak FAQ; Nespresso capsule-container FAQ; Nespresso Vertuo Next assistance.