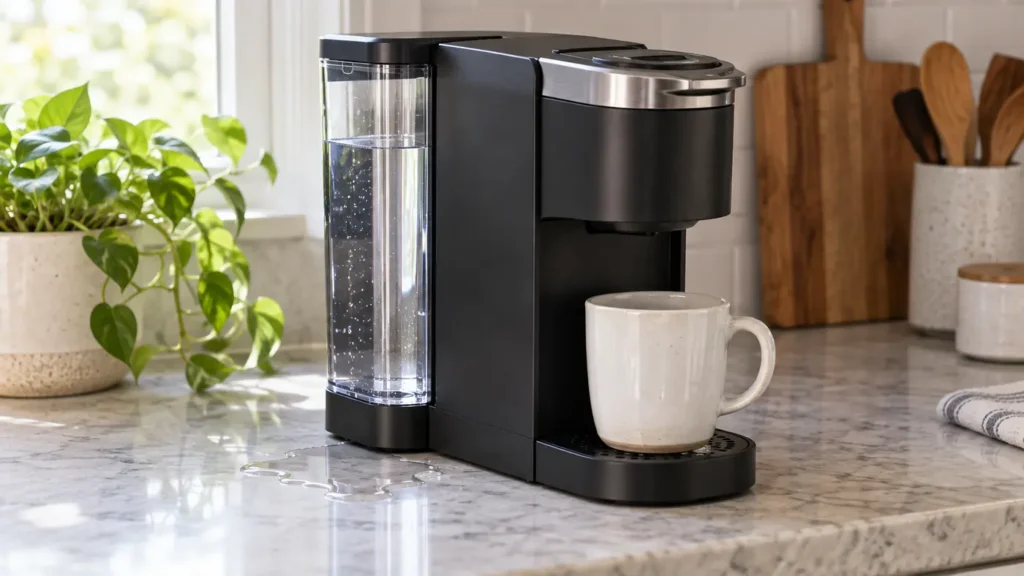
A wet counter under your Keurig K-Supreme does not automatically mean the brewer has an internal leak. On this model, water can come from the removable reservoir, a full drip tray or an overflowing cup. The useful question is simple: does the puddle appear while the machine is idle, or only when it brews?
Quick answer: Dry the counter, tank and drip tray. If water appears with the brewer off, remove the reservoir and check it separately. If the counter stays dry until a brew, check the cup and drip tray before testing anything else. If water comes from beneath the brewer housing during a brew, stop using it and contact Keurig.
Last verified: September 25, 2026. This guide covers the standard K-Supreme with 6, 8, 10 and 12 oz buttons. K-Supreme Plus and SMART versions have different controls. The external leak checks are similar, but follow the guide for the exact model printed on your brewer.
Where does the water first appear?
Put a dry paper towel on the counter around the brewer, without covering its base or moving water toward the cord. Empty and dry the drip tray. Wipe the outside of the reservoir, then look for the first wet area. An old puddle can spread under the machine and make the source look farther back than it is.
| Where and when | Likely direction | First check |
|---|---|---|
| By the reservoir while the brewer is idle | Spill from filling, reservoir damage or reservoir connection | Test the detached reservoir on a towel |
| At the front after a brew | Full drip tray, cup overflow or splash near the outlet | Empty the tray and choose a larger mug |
| Near the pod holder while brewing | Pod seating, holder position or coffee splashing | Let it cool; inspect only accessible parts |
| From under the main housing during operation | Internal leak is possible after external sources are excluded | Stop using the brewer; contact Keurig |
Keurig’s leak troubleshooting note tells owners to check whether water is coming from the removable cold-water reservoir. Start there, especially if you find water without having made a cup.
1. Check the removable reservoir
Turn the brewer off and unplug it. Take off the tank lid and lift the reservoir straight up, as described in the K-Supreme Use & Care Guide. Wipe the outside dry and look for a crack, a damaged bottom outlet or water running down the tank wall. Do not dig into its valve or try to seal a crack with glue.
If the source is still unclear, leave water in the detached reservoir and stand it upright on a towel away from the brewer. Check the towel after a short wait. This separate observation is a practical way to tell whether the tank itself drips; it is not a Keurig repair procedure.
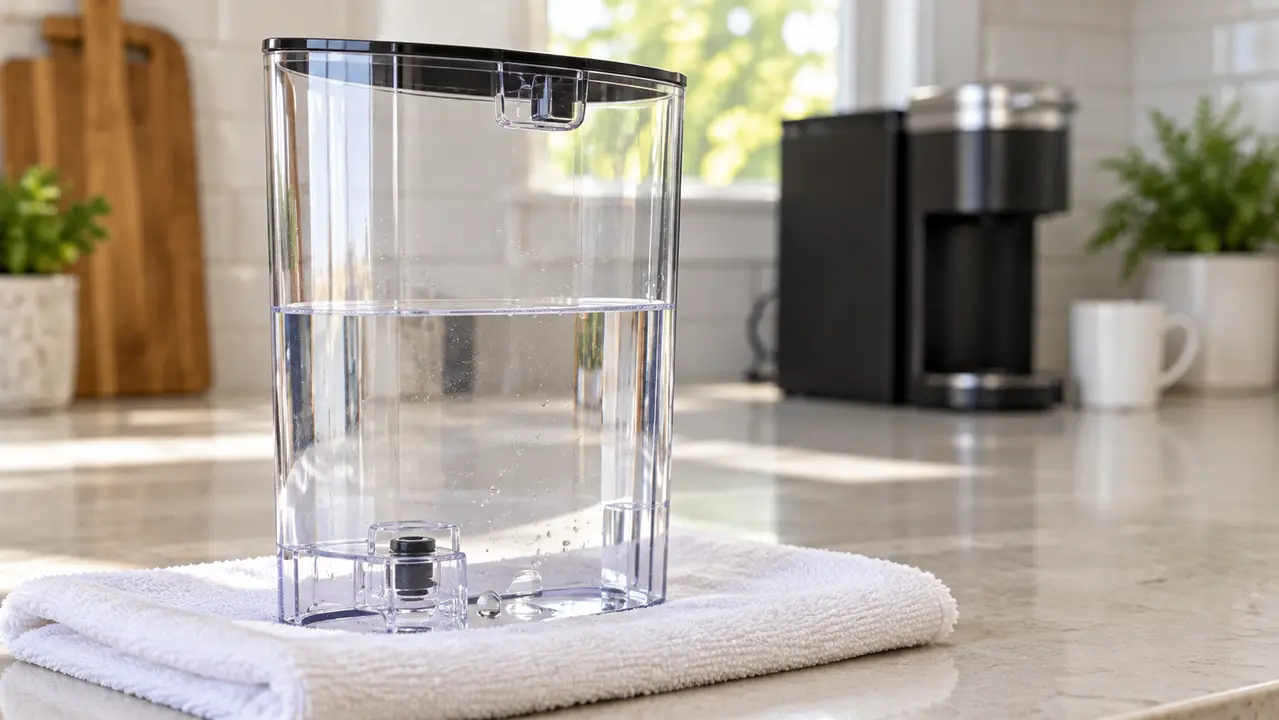
If the towel gets wet: The detached reservoir may be leaking. Contact Keurig or obtain the compatible replacement reservoir for your exact K-Supreme version. If it stays dry: Dry the tank seat that you can reach without opening the brewer, then reinstall the reservoir straight and fully. Keep the water below the MAX FILL line. If water returns at the joint after the tank is seated, stop using the machine and ask Keurig to inspect it.
A tank that was overfilled at the sink can also leave water on its outside. Drying it before the test keeps a filling spill from being mistaken for a leak.
2. Empty the drip tray and check the mug
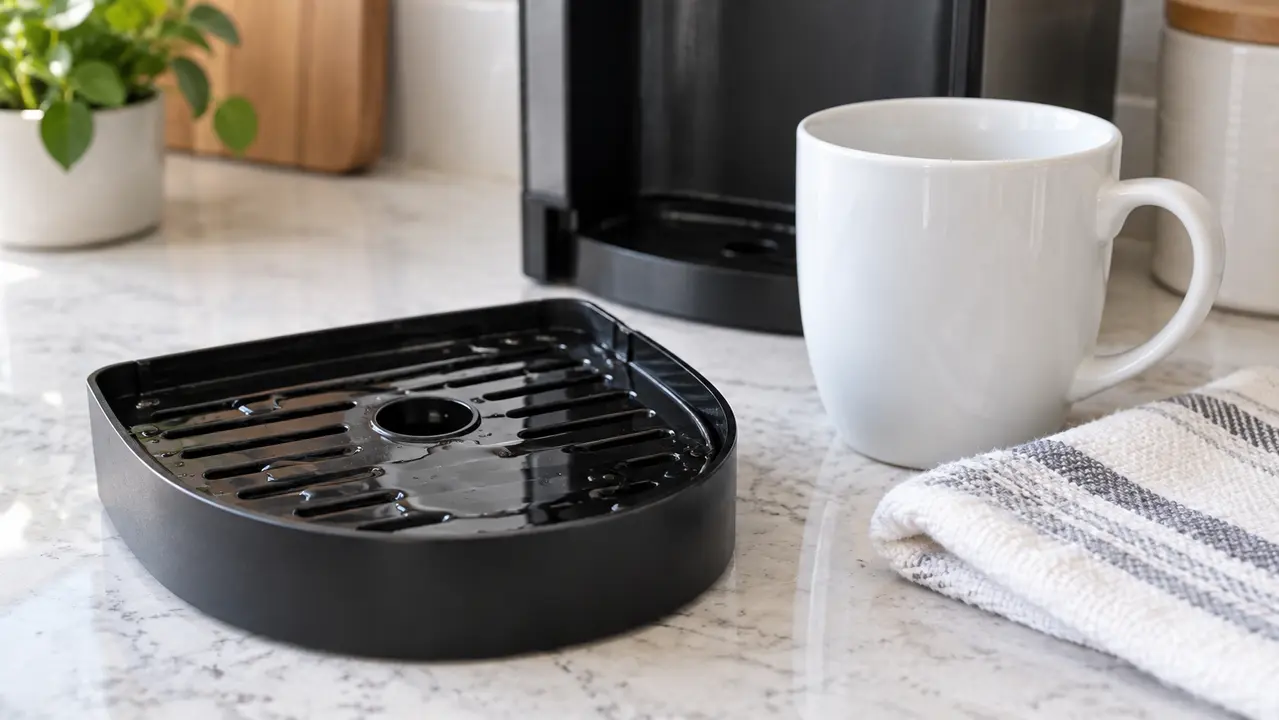
The standard K-Supreme’s tray is meant to catch occasional drips. Keurig says it can hold up to 8 oz of overflow, so it can eventually spill onto the counter if it is not emptied. Remove it, pour out the water, rinse it and fit it back securely. Check that water was actually in the tray, rather than appearing under the brewer while the tray remained dry.
Next, check the cup size you selected. A 12 oz brew needs a cup with more than 12 oz of usable room; leave space below the rim. Keurig’s guide recommends a large enough vessel for its OVER ICE setting because the ice and dispensed liquid can overflow together. Set the mug directly under the outlet and watch from a safe distance.
If the tray fills unusually quickly while the cup receives too little water, the problem may involve the brew path rather than an ordinary tray overflow. Our K-Supreme partial-cup guide covers the separate low-output checks. Stop if you also see water emerging from the housing.
3. Check for splashing around the pod holder
Wait until brewing finishes and the holder cools. Lift the handle and remove the used pod. Look for a pod that shifted, a visible crack in the cup or grounds and water left around the accessible holder. Empty the holder area according to the Keurig guide and make sure the removable holder is correctly seated after cleaning. Do not put fingers near the entrance needles; they are sharp.
One fresh pod and a properly closed handle can help distinguish an isolated damaged pod from a repeating problem, but only if there is no leak from the housing or electrical area. If hot water sprays from the pod area again, stop making coffee. Avoid forcing the lid closed or stacking a second pod on one already inside.
The K-Supreme manual explains how to remove and clean the pod holder, funnel and needles. A blocked exit needle usually shows up as a partial cup or grounds in the coffee; it should not be assumed to explain a puddle under the brewer. Follow the manual’s method only for those symptoms, with the brewer unplugged and cool.
What if it leaks only during descaling?
First check where the liquid comes out. Descale solution can foam at the coffee outlet while reacting with scale, according to Keurig’s guide. Foam reaching an undersized or misaligned cup can spill down the front. A wet counter beneath the brewer while the outlet, cup and tray stay dry points to a different problem. Stop the cycle, keep the brewer unplugged when safe, and contact Keurig rather than running more solution through a possible internal leak.
For the normal descale sequence on a dry, properly working unit, see our K-Supreme descaling guide. If the machine has stopped turning on after descaling, see our power troubleshooting guide; do not attempt an internal reset through the base.
When to contact Keurig
- Water appears from under the housing during operation after the reservoir, tray and cup are dry.
- The reservoir leaks while detached, or leaks repeatedly at its connection after proper seating.
- Hot water repeatedly escapes around the pod holder despite a fresh pod and a correctly seated holder.
- The cord, plug or outlet gets wet, the brewer trips a breaker, or there is a burning smell.
- The counter repeatedly floods and you cannot identify a removable source without taking the brewer apart.
Keurig says the K-Supreme is not user-serviceable beyond its recommended cleaning and maintenance procedures. Keep a photo of the first wet spot, the model name and serial number, and note whether the leak occurs when idle or only while brewing. Contact Keurig Support before buying an internal part or opening the case.
Frequently asked questions
Why is my K-Supreme leaking when it is turned off?
Check for water spilled while filling, then isolate the removable reservoir on a towel. If a dry tank drips while detached, the tank may need replacement. If it stays dry, reseat it and contact Keurig if water continues to appear at the connection.
Is water in the drip tray a sign of a broken brewer?
Occasional drips belong in the tray. Empty it and check whether the counter stays dry. Frequent overflow, especially when little reaches the cup, calls for a closer look at the brew path and a support call if water escapes from the housing.
Will descaling stop a leak from the bottom?
Do not run descaler to treat an unidentified external leak. Check the reservoir, tray and cup first. If liquid comes from the main housing, Keurig service is the safer next step.
Sources: Keurig K-Supreme Use & Care Guide and Keurig’s bottom-leak support note.