Quick answer: Philips 3200 LatteGo leaking water? First check where it appears. Water in the drip tray is usually part of automatic rinsing, even when a cup catches the water from the coffee spout. If you find clear water beside the tank, push the tank fully back into place. If you see brown water on the counter, check whether the tray overflowed or was removed just after a rinse or brew. Philips advises contacting support if the correctly seated tank still leaks, or if the tray fills after only two cups or overnight. Stop using the machine if water reaches the plug or outlet.
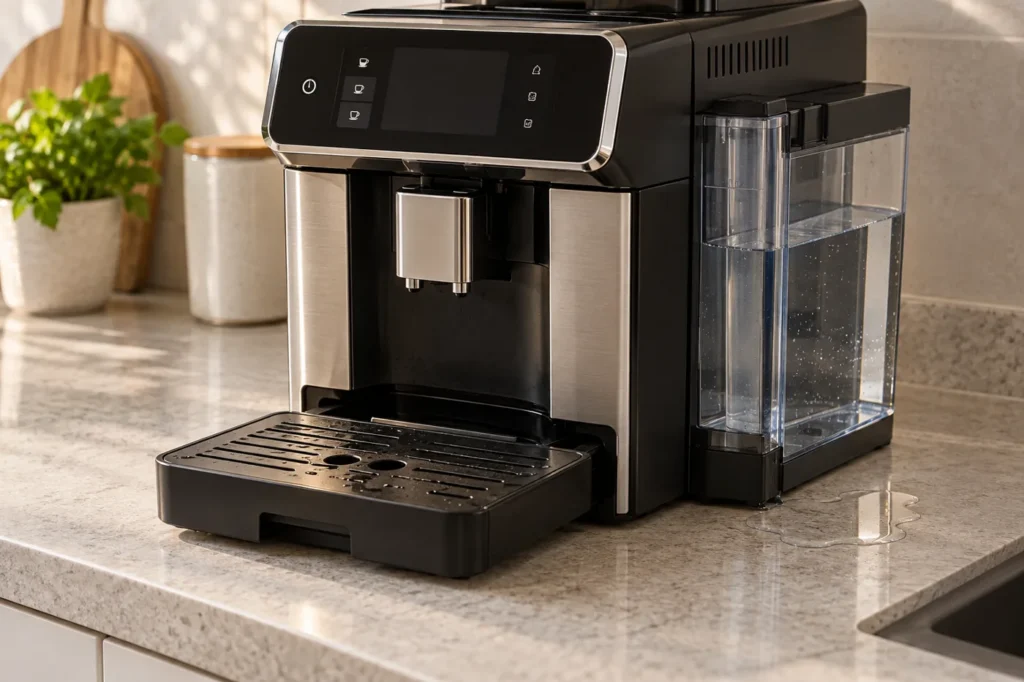
This guide covers external leak checks for the Philips 3200 LatteGo model family. Find your full EP32xx number on the rating label and follow its regional manual. The cover shows a generic automatic espresso machine, not the exact Philips control panel. The check order below is based on Philips’ leak guidance; the dry-counter observation sequence is our way of applying it without dismantling the machine.
First, identify where the first fresh water appears
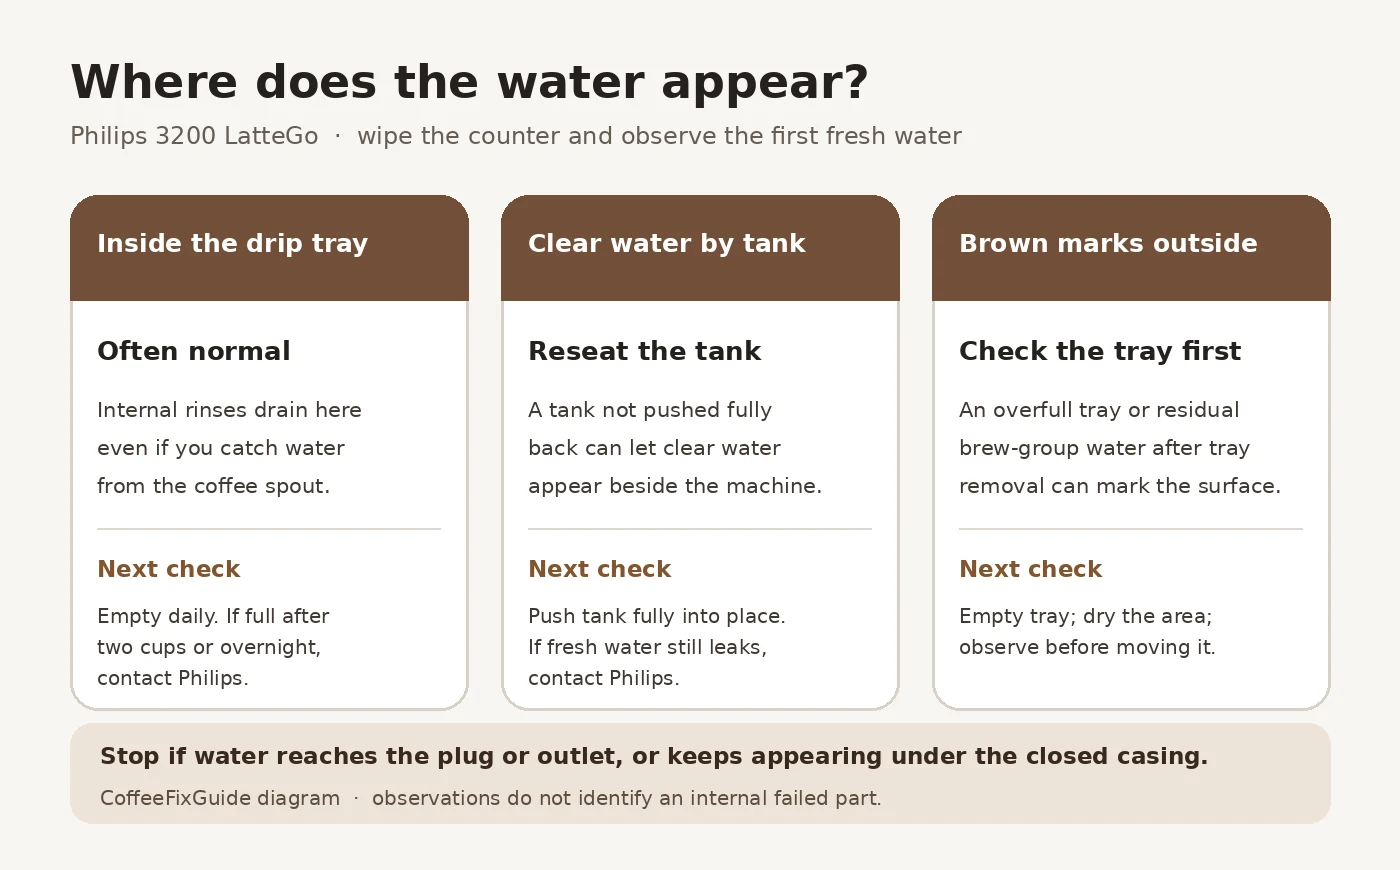
| What you see | First check | When to seek help |
|---|---|---|
| Some water inside the drip tray | Empty it and look again after normal use. | Full after two cups or filling overnight: contact Philips. |
| Clear water beside the tank or under the machine | Remove and push the water tank fully back into place. | Clear water still appears with the tank correctly seated: contact Philips. |
| Brown marks on the counter or below the right side | Check an overfull tray and whether you removed it soon after a brew or rinse. | Fresh water keeps emerging from the closed casing or reaches electrics: stop using the machine. |
| Milk coming from the bottom of the LatteGo container | Inspect assembly and clean both LatteGo parts. | Milk still escapes after proper assembly and cleaning: contact Philips. |
Safety stop: Do not run another test if there is water at the cord, plug, outlet or beneath an electrical connection, or if you notice a burning smell or a tripping circuit. Turn the machine off and disconnect it only if you can reach a dry, safe plug. Otherwise isolate power safely and seek qualified help. Do not open the casing or probe internal hoses on a plugged-in machine.
What you need for the external checks
- A dry absorbent cloth or paper towels and a container for the drip tray.
- Good light to see the tank side and the counter around the base.
- The exact model number and Philips support page for your variant. The linked EP3246/74 page is one example; other EP32xx machines may differ.
No screwdriver, electrical tester, replacement valve or seal is needed to make these observations.
1. Water in the drip tray after brewing
The machine directs some rinse water into the tray through its internal circuit. This can happen when you switch it on or off, brew a drink or use the milk frother. A cup under the coffee spouts does not catch all of that water. A wet tray alone is therefore not evidence that a hose or seal is broken.
- Wait for the active cycle to finish and for the machine to become quiet.
- Remove the tray carefully, empty it and wipe it dry. Clean any water already on the counter.
- Reinstall the tray fully. Observe normal use without removing it immediately after a brew.
- Note how quickly it fills. Philips says to contact support if it becomes full after two cups or fills overnight.
Empty the tray daily or when its red full indicator appears. If the machine was moved or the tray was removed while wet, dry the surrounding area before deciding that new water is coming from the base. The Philips leak article specifically distinguishes normal internal drainage from a leak.
2. Clear water beside the tank or under the machine
Check the tank before blaming an internal part. Philips identifies a water tank that has not been pushed all the way back as a common cause of clear water at the side or beneath the machine.
- Turn the machine off if a cycle is running; wait until it stops. Do not handle it if electrical areas are wet.
- Remove the tank, inspect its outside and the area where it sits for visible dirt or an obstruction, and wipe the counter dry.
- Fill and reinstall the tank normally. Push it fully back into its seated position without forcing it.
- With a dry machine and safe surroundings, observe whether fresh water appears again. If it does while the tank is correctly seated, stop the check and contact Philips support.
A cracked tank or failed internal connection is possible, but water at the base does not identify which part failed. Do not order a tank, valve or gasket until the leak source and exact EP variant have been confirmed. If no water dispenses as well, use the separate Philips 3200 no-water guide; a poor flow result alone cannot locate a leak.
3. Brown marks after taking out the tray
Brownish water can come from a tray that became too full and spilled during removal. Philips also notes that a small amount of water can keep dripping from the brew group if the tray is removed soon after brewing or rinsing; it may land on the counter under the machine’s right side.
- Empty and rinse the drip tray. Dry the countertop and the surface under its opening.
- Reinstall it completely and let the machine finish its rinse or brew before removing it again.
- Watch where new water appears during ordinary use. If the marks no longer return with a seated, emptied tray, keep up tray cleaning.
- If water clearly continues from inside the closed housing or from an electrical area, stop using the machine and request service.
Do not interpret every brown mark as a failed brew-group seal. Color and location narrow the first check; they are not a parts diagnosis.
Is it the LatteGo container instead?
A puddle of milk under the detachable LatteGo is a different problem from clear water beneath the machine. Philips says to remove the transparent transport clip, join the two LatteGo parts until they click and check their bottom joint. Milk residue can also prevent a clean fit; rinse the separated parts according to Philips’ LatteGo guidance. If milk still escapes, contact support. Do not use a milk-container fix to explain a clear puddle at the machine’s tank side.
Repair and parts: what can be concluded?
The owner checks here involve cleaning, seating and observing removable parts. A persistent clear leak with a properly seated tank or an abnormally fast-filling tray needs a service assessment. Its cause cannot be ranked with honest percentages without actual repair records. The only sensible parts question at this stage is whether a technician can identify the leaking assembly for the full model code and regional revision. If the quote is substantial, compare it with a new machine using our repair vs replace calculator.
FAQ
Why is the tray wet even when I use a cup for rinsing?
Some rinse water drains internally into the tray; the cup only catches water coming out of the coffee spouts. A little water there is expected.
Is a drip tray full after two coffees normal?
Philips specifically advises contacting support if the tray is full after two cups. Empty and reinstall it first to rule out old water, then note what happens in normal use.
Can I run a descaling cycle to stop the leak?
Descaling does not reseat a tank or diagnose a water leak. Follow the model-specific descaling guide when the machine calls for maintenance, but address active water near electrical areas first.
Does water on the right side always mean an internal fault?
No. If the tray was removed just after brewing or rinsing, residual brew-group water may continue dripping there. Dry the surface and observe the first fresh water with the tray installed.
References and related guides: Philips: My Espresso Machine is leaking; Philips: LatteGo leaking from the bottom; EP3246/74 support and manuals (checked September 27, 2026). Browse the Philips 3200 troubleshooting hub and our diagnostic method for neighboring symptoms. CoffeeFixGuide is independent and not affiliated with Philips.