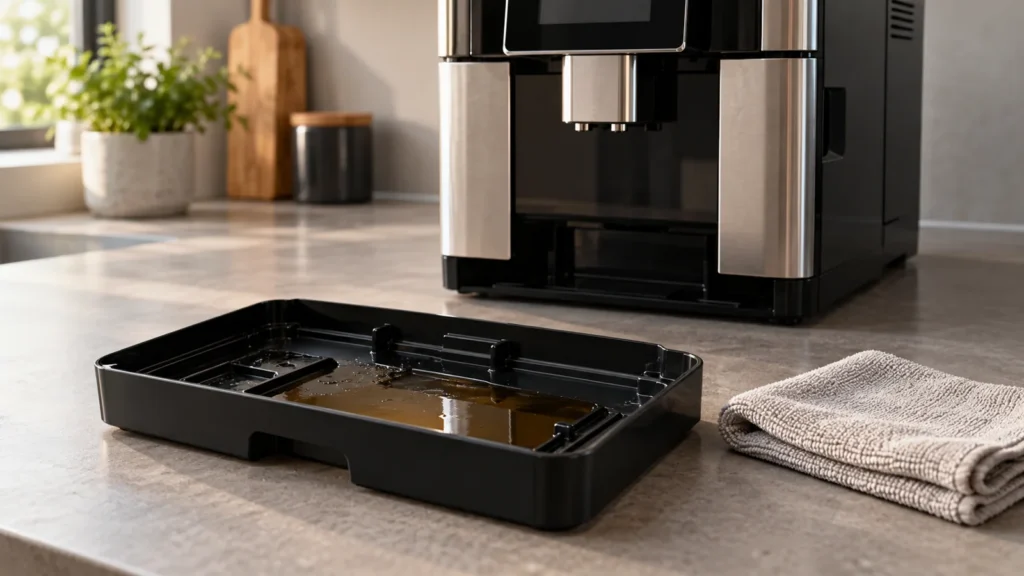
Cover image: representative equipment, not an exact model or control-layout reference. The checklist in this guide shows the relevant owner checks.
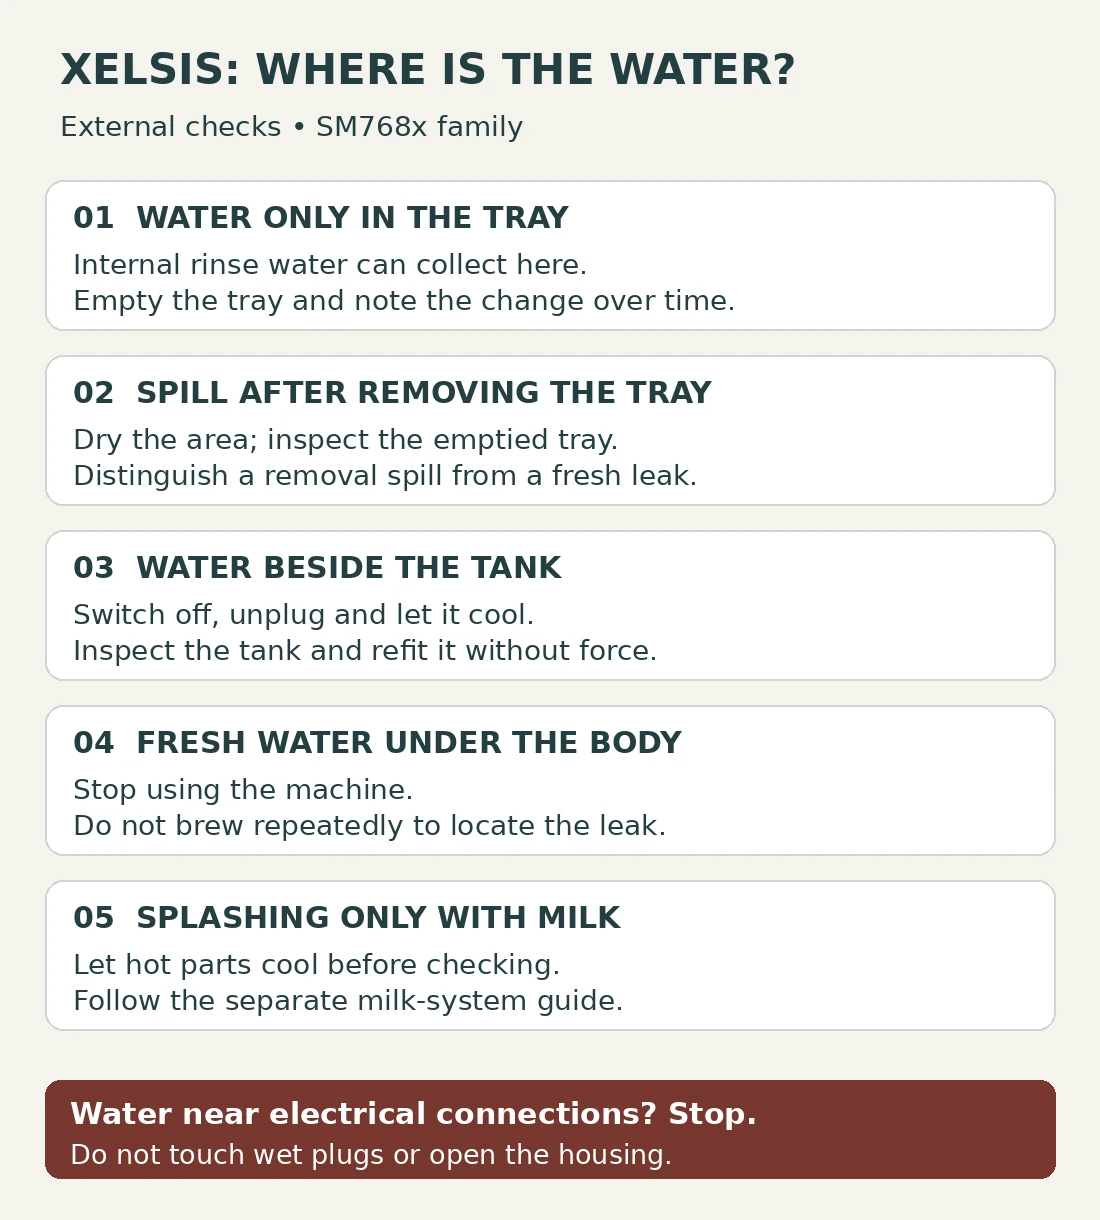
Quick answer: A Saeco Xelsis can have water in its drip tray without having a leak: some rinse water goes there through the internal circuit. First identify whether the water stays in the tray, spills when you remove it, or appears on the counter while the machine is stationary. Empty the tray, dry the surrounding area, and check the tank seating with the machine off and unplugged. Water returning beneath the body, a tank draining while idle, or water near electrical connections calls for service. Do not keep brewing to locate an active leak.
Model scope: This guide covers the Xelsis SM7680, SM7683, SM7684, SM7685 and SM7686 family. Older Xelsis models and Xelsis Suprema/Deluxe use different assemblies. Check the full model number before ordering anything. See the Saeco Xelsis guide hub for related problems.
Start with location, not a replacement part
“Leaking water” describes several different observations. Write down where you first saw moisture and what the machine was doing. A photo taken before wiping the counter is more useful than a guess about a pump or seal.
| What you see | First distinction to make | Next step |
|---|---|---|
| Water contained inside the drip tray | Normal collection versus an unusual increase | Record when you last emptied it and whether drinks are still dispensing normally. |
| A brown trail after pulling out the tray | Removal spill versus water appearing while stationary | Dry the area and inspect the emptied tray. |
| Clear water beside the tank after a refill | Refill spill versus recurring leakage | Check the tank and its seating with power disconnected. |
| A fresh puddle beneath the body | Source cannot be established externally | Stop using the machine and arrange service. |
| Splashing only during a milk drink | Milk outlet problem versus a base leak | Let the system cool, then follow the milk-system guide. |
Before checking: tools and stop conditions
You need a soft cloth, a cup, a flashlight and a phone for photographs. No screwdriver or electrical meter is required. Allow roughly 10–15 minutes for external checks, plus cooling time; this is a planning estimate, not a repair-time promise.
Stop immediately for water near the plug or cord connection, a burning smell, smoke, or a tripped breaker. Do not touch wet electrical connections. Isolate the circuit safely if the plug cannot be reached without contacting water. Do not remove the housing, bypass a door switch, or run the machine with parts removed.
1. Establish a dry starting point
- Switch off, unplug safely and allow the machine to cool.
- Remove and empty the drip tray carefully, keeping it level. Photograph any crack or damaged edge you can see without taking assemblies apart.
- Wipe up the existing spill. Note whether it was already present before you moved the tray.
- Check that the machine stands on a stable, horizontal counter. Refit the tray correctly.
The Xelsis manual calls for daily tray emptying, or sooner when the full indicator rises. It also identifies an overflowing tray and an uneven surface as explanations for apparent leakage. A cup under the spouts catches visible rinsing, but cannot intercept water routed internally to the tray.
2. Inspect the tank after a refill
If the wet area started beside the tank, distinguish water spilled during filling from water that comes back after cleanup. With power disconnected, remove the tank normally, inspect its exterior for visible damage, and wipe away accessible moisture. Refit it fully without forcing it. Do not poke the outlet valve or insert tools into the machine’s tank connection.
Philips/Saeco support identifies an incompletely seated tank as one possible explanation for clear water around the machine. Persistent water underneath after correct seating needs further assistance. A wet tank area alone does not identify which seal or connection, if any, has failed.
3. Decide whether any powered check is appropriate
Do not reconnect a machine with a suspected internal leak. If the only issue was a clearly identified tray spill or refill spill, everything is dry, and there are no damage or electrical warning signs, observe the next normal use with all parts installed. Stay nearby; stop if fresh water appears outside the tray. Do not run repeated drinks as a stress test.
For a tray that seems to fill unusually fast, record the starting condition, drinks made, and rinses observed. The official drip-tray support page flags filling overnight or becoming full after two coffees as reasons to contact support. These are escalation examples, not a universal allowance for water per cup.
If coffee output has dropped at the same time, report both symptoms. Use the Xelsis no-coffee guide only after an external leak has been ruled out. If the screen shows error 05, record that message and consult the water-circuit guide; do not repeatedly prime a leaking machine.
4. Separate milk splashing from a water leak
A wet cup area during a cappuccino deserves a different description from a puddle beneath the chassis. Note whether the liquid comes from the dispensing area and whether it happens only with milk. The Xelsis manual includes milk temperature, tube connection and milk-system cleanliness among its splashing checks. Wait for hot parts to cool before touching them; the Xelsis milk-system troubleshooting guide explains the relevant connections and cleaning.
Parts, cleaning and service
Do not buy a pump, valve or seal kit from this symptom alone. A service request should include the full model number and suffix, where water first appears, whether it happens while idle, and any change in coffee output. Ask the repairer to identify the failed part and confirm compatibility before approving replacement.
A visibly damaged removable tank or tray may justify a replacement inquiry. Internal plumbing and electrical repairs require a qualified service assessment. There is no reliable single repair price without a diagnosis, location and parts quote.
Routine brew-group cleaning remains useful maintenance, but it is not proof that an unexplained leak is fixed. Do not start descaling simply to see whether a puddle disappears.
Frequently asked questions
Why is there water in the tray when I catch the rinse in a cup?
The cup catches water leaving the spouts. Internal drainage follows a separate route into the tray.
Can I leave it overnight to find the leak?
Do not deliberately leave a suspected leaking machine supplied with water as a test. If you already noticed overnight water loss, tell support rather than trying to reproduce it unattended.
Does brown water prove that the brew group seal has failed?
No. Color is an observation to report, not a component diagnosis. Include whether you had just removed a full tray.
Can an AquaClean replacement fix a leak?
A filter change is not a justified repair for an unexplained puddle. Address the leak first. For normal filter maintenance, use the separate AquaClean installation guide.
Sources and scope
This is a document-based owner troubleshooting guide, not a report of hands-on testing. The cover shows representative equipment; the original checklist below the first procedure is not a parts diagram.
- Official Xelsis SM768x manual — safety and troubleshooting, particularly printed pages 25–26.
- Philips/Saeco leakage support — water location and tank seating.
- Official drip-tray support — internal drainage and escalation examples; linked from the SM7685/04 support page.